
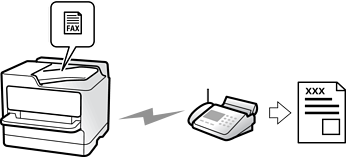
You can send faxes by entering fax numbers for recipients on the control panel.
When sending a fax in monochrome, you can preview the scanned image on the LCD screen before sending.
You can reserve up to 50 monochrome fax jobs even while the phone line is in use for a voice call, sending another fax, or receiving a fax. You can check or cancel reserved fax jobs from Job/Status.
Place the originals.
You can send up to 200 pages in one transmission; however depending on the remaining amount of memory, the number of pages you can send may be less than 200 pages.
Select Fax on the home screen.
Specify the recipient.
See the following for information when adding optional faxes to the printer.
Sending Faxes Using the Printer with Optional Fax Boards
Also see the following for information on expanding the IP fax feature.
Select the Fax Settings tab, and then make settings such as Resolution and Direct Send.
Tap  (Presets) on the fax top screen to save the current settings and the recipients in Presets. This allows you to easily load the settings at any time.
Recipients may not be saved depending on how you specified the recipients, such as entering a fax number manually.
Tap  to send the fax.
If the fax number is busy or there are any sending issues, the printer automatically redials after one minute.
To cancel sending, tap  .
.
It takes longer to send a fax in color because the printer performs scanning and sending simultaneously. While the printer is sending a fax in color, you cannot use the other features.