Step 3. Select a photo
You can send photos stored on the customer's smart device to an in-store iPad.
The files selection screen differs depending on the type of item.
-
When you select a template with Other Items as the Item Workflow Type that has no photo frames, the photo upload screen is not displayed.
-
When the Photo Upload Screen setting in Craft Admin is disabled, the photo upload screen is skipped. You can access the skipped screen from the edit design screen.
-
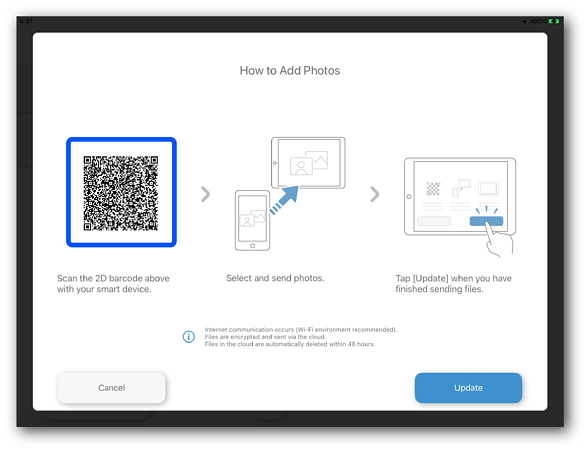
Use your smart device to read the 2D barcode displayed on the in-store iPad.
Important:Enable JavaScript in your smart device's browser settings. If this is disabled, you cannot send photos.
-
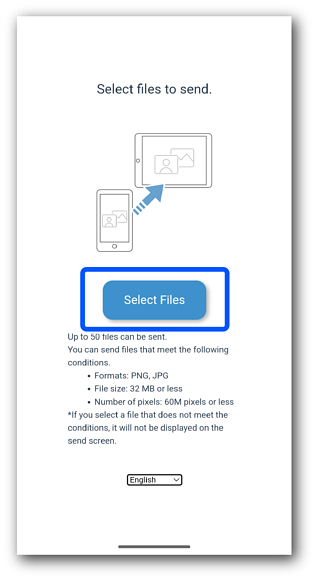
Tap Select Images on the web app screen displayed on your smart device.
Note:The default language depends on the browser's language setting.
-
Select the files you want to send.
The files selection screen may look different depending on your device and OS.
-
The selected files are sent to an in-store iPad.
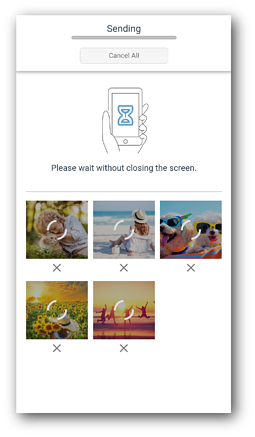
The following symbols are displayed on the Sending screen.
Icon
Explanation

Sending complete.

Sending failed.
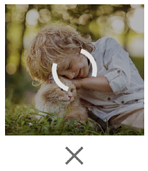
Sending photo.

Waiting to send.

The number of files you can send has exceeded the maximum.
Note:While sending files, an error may occur for the following reasons. Send the files again.
-
Connection failed due to problems with the Wi-Fi, public network, or device.
-
There is a problem with the cloud.
-
-
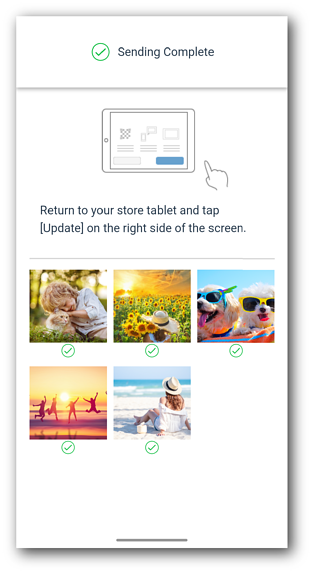
Check that the sending complete screen is displayed on your smart device.
-
Tap Update on the in-store iPad.
 Important:
-
Once files have been sent to the in-store iPad, they are automatically deleted from the cloud.
-
If you stop sending the files, they are deleted from the cloud after a certain period of time.
-
-
When printing photos or photo books, select the photos you want to use.
This will not be displayed when printing PDFs or merchandise.
-
If you select photos
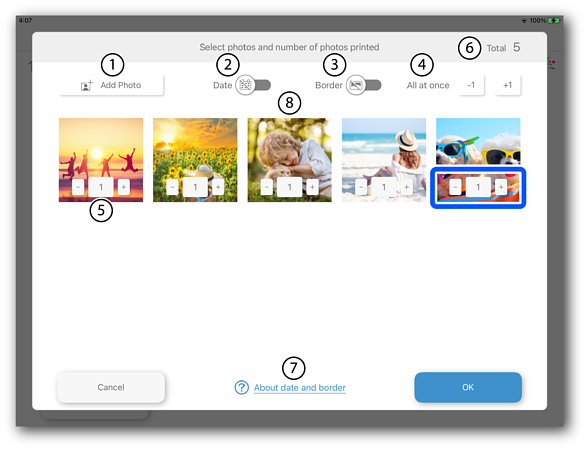 Use the following items to make settings for the photos.
Item
Explanation
1
Add Photo
Adds photos.
2
Date
Prints the date information stored in the photo in a fixed position at the bottom-right corner of the paper.
3
Border
Prints a white border of approximately 3 mm on all sides of the photo regardless of the paper size.
You can adjust the size and position of the photo on the final confirmation screen.
Note: If you want to change the border settings of an edited photo, make sure you check the finished image before ordering.
4
All at once
Allows you to increase or decrease the number of photos displayed on the screen as a batch.
5
Number of Copies
Changes the number of copies to be printed for each photo.
6
Total
Displays the number of selected photos.
7
About date and border
Provides more information about date and border printing.
 About Date/Border Settings
8
Photo List
Allows you to check the added photos.
Note:You can specify up to 30 photos. If you specify more than 30, an error message is displayed. Select again so that the number of prints is less than 30.
-
If you select a photo book
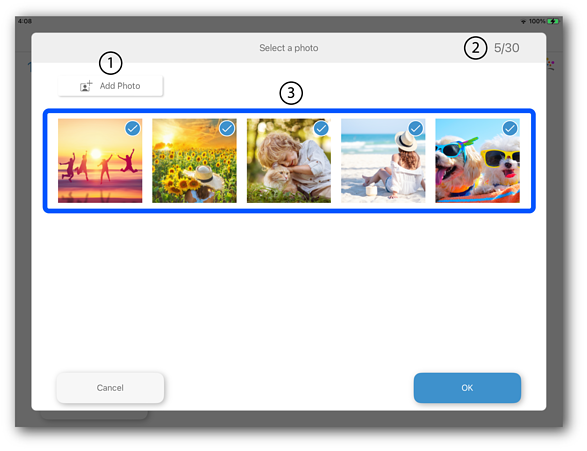 Use the following items to make settings for the photos being printed in the photo book.
Item
Explanation
1
Add Photo
Adds photos.
2
Total
Displays the number of selected photos.
3
Photo List
Allows you to check the added photos.
-
-
Tap Next to confirm that the item is complete.
